
Custom courses can be a huge asset to your company and help ensure your entire team is all on the same page with how you do things. In this post you will learn about the different options for creating custom courses and some of the ways you can use them. It is also important to note that only members with a PAX Company Membership have the ability to create custom courses. If you would like to start creating courses and don’t have a custom membership you can reach out to our support team and they can get your membership upgraded for you.
The structure of courses
The best way to think about the structure of courses is to think of them like books. When we talk about courses we talk about them in parts:
Modules
Think of these as chapters in a book. Every course needs at least 1 module, but it can has as many as you need. You can also put a test or “I agree” sign-off at the end of each module.
Pages
Just like book your modules will have pages, however unlike a book you can Digital embed onto them. For example in addition to text and images you can also have video, audio and even interactive elements like Google Maps!
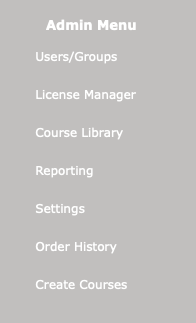
Getting Started
To create your first course select “Create Courses” at the bottom of the “Admin Menu”. This will take you to the Create Courses Page. From here you can click “Create New Course” to create your first course.
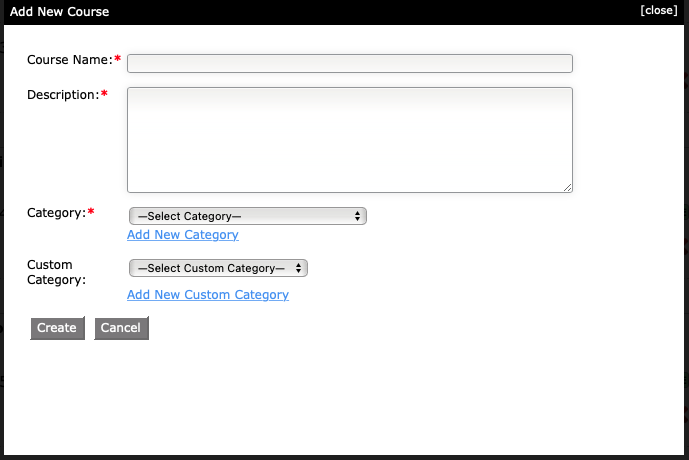
Start by giving your course a name, a description and selecting a category for it. You can also use the “Add New Category” link to create you own category.
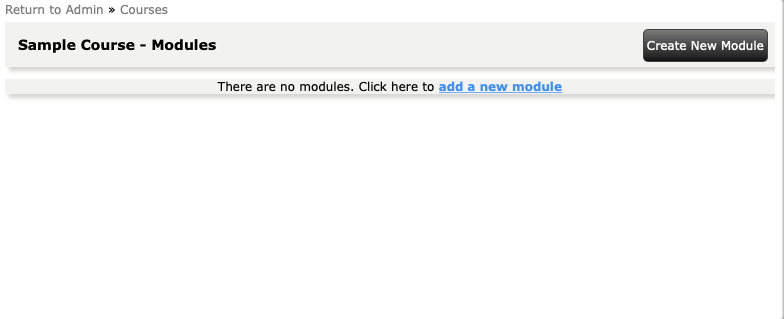
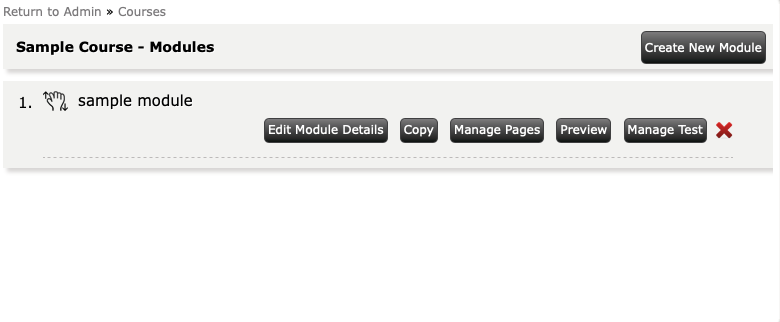
Once you have created your first course you’re ready to add your first module. You can either click the “Create New Module” button or the “add a new module” link.
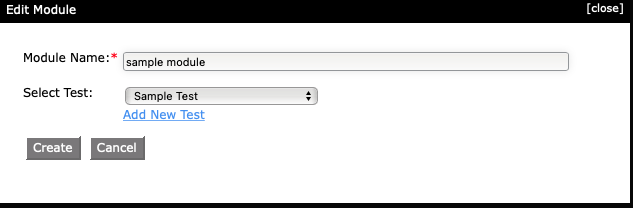
In the new module dialog you’ll need to name your module and if you would like to add a test you can do so at that point.
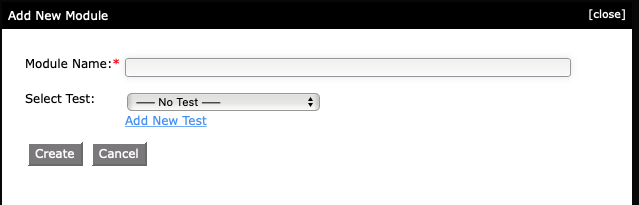
If you click to add a test you will need to give it a name. If you aren’t feeling particularly creative you can name it after the module it is in. You will then need to select the type.
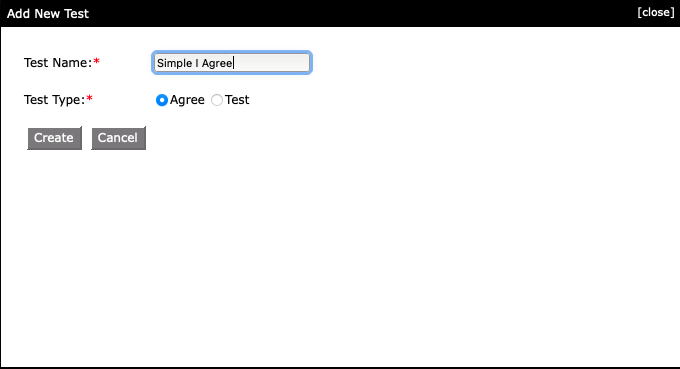
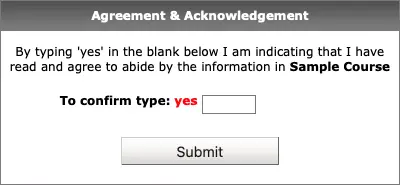
Although the option is in the test dialog the “Agree” test type isn’t actually a test. It is a dialog that confirmed the user taking the course has gone through the material and agrees to follow it. These also generate a date/time stamp so you know when they were agreed to. Here is an example of what this would look like in a sample course:
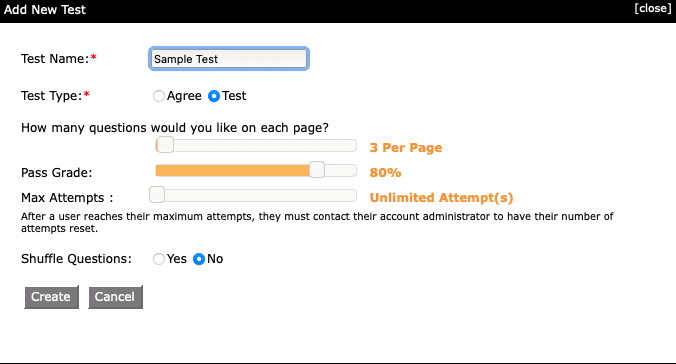
If you chose to add a test you will be show various options to help you setup your test. You can select how many questions will be shown on each page ( we recommend leaving this at 3 ). What is considered to be a passing grade (keep in mind we all make mistakes from time-to-time so although you want perfection we recommend only going to 100% when absolutely necessary). You can also set the max number of times a test can be take. With this option keep in mind you will need to reset the users training record if they must take the test again. Finally you can set the test to shuffle the order of the question so each time a test is taken the order changes.
Once you have selected you test you will be taken back to the module screen and you will see your test name in the “Select Test” dropdown. You can now create your module by clicking “Create”
Once your module has been create you will be taken to the pages section. By default a Sample page will be added for you. From here you can add pages as needed.
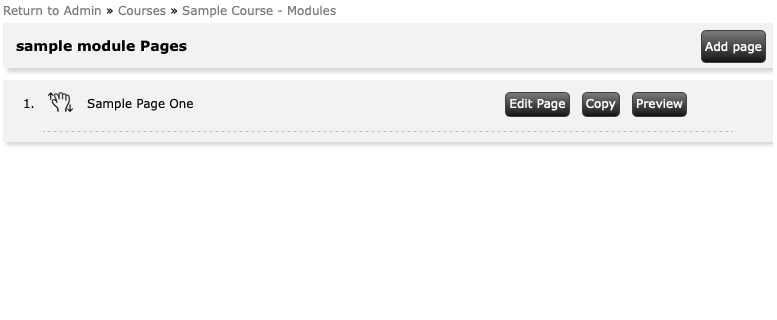
To get back to the Modules section just click the Modules link at the top. From there you will be able to manage your test.
Once you have completed your course return to the courses section by clicking “Course” in the top bread crumb menu. It is time to publish your course. If you forget this step you won’t be able to assign to the course to your users. Do this by clicking the “Publish” button under your course name. From there you are ready to start using your course!
